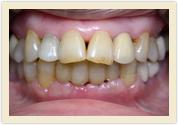
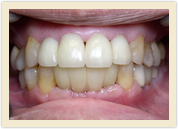
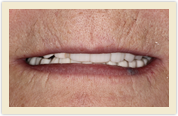
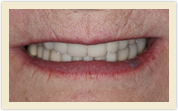
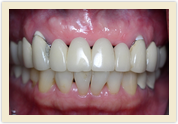
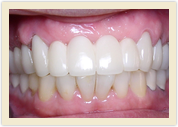
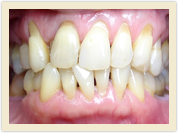
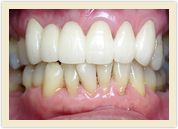
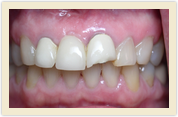
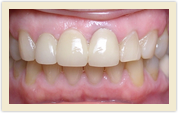
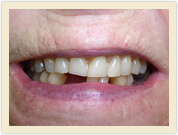
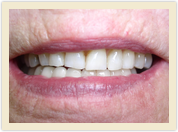
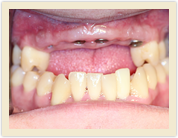
Dental Bridges
 |
 |
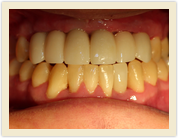
| Before Photo | After Photo |
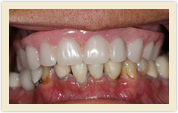
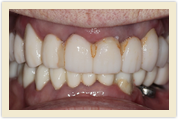
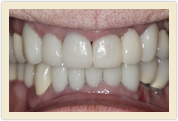
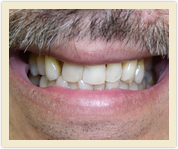
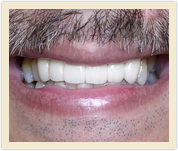
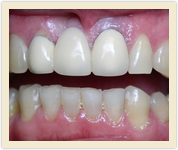
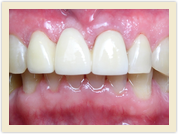
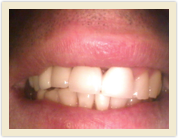
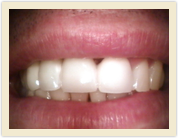
Full arch reconstruction with Lava crowns
 |
 |
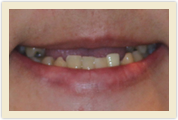
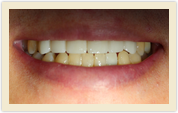
| Before Photo | After Photo |
 |
 |
| Before Photo | After Photo |
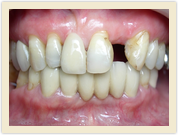
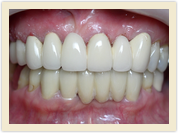
Implant supported bridge with e-max crowns
 |
 |
| Before Photo | After Photo |
 |
 |
| Before Photo | After Photo |
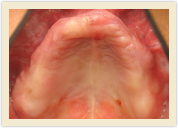
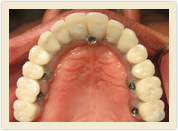
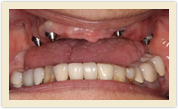
All-on-4 Full arch rehabilitation with a fixed bridge
Applied Procedures:
Dental Implants, Cosmetic Crowns, Dental Bridges, Tooth Extractions, Full Mouth Reconstruction
 |
 |
| Before Photo | After Photo |
 |
 |
| Before Photo | After Photo |
 |
 |
| Before Photo | After Photo |
 |
 |
| Before Photo | After Photo |
 |
 |
| Before Photo | After Photo |
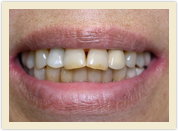
Applied Procedures:
Dental Bridges
 |
 |
| Before Photo | After Photo |
 |
 |
| Before Photo | After Photo |
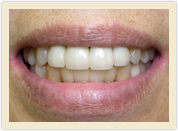
Metal-free bridge with Lava crowns
 |
 |
| Before Photo | After Photo |
Applied Procedures:
Dental Bridges
 |
 |
| Before Photo | After Photo |
 |
 |
| Before Photo | After Photo |
 |
 |
| Before Photo | After Photo |